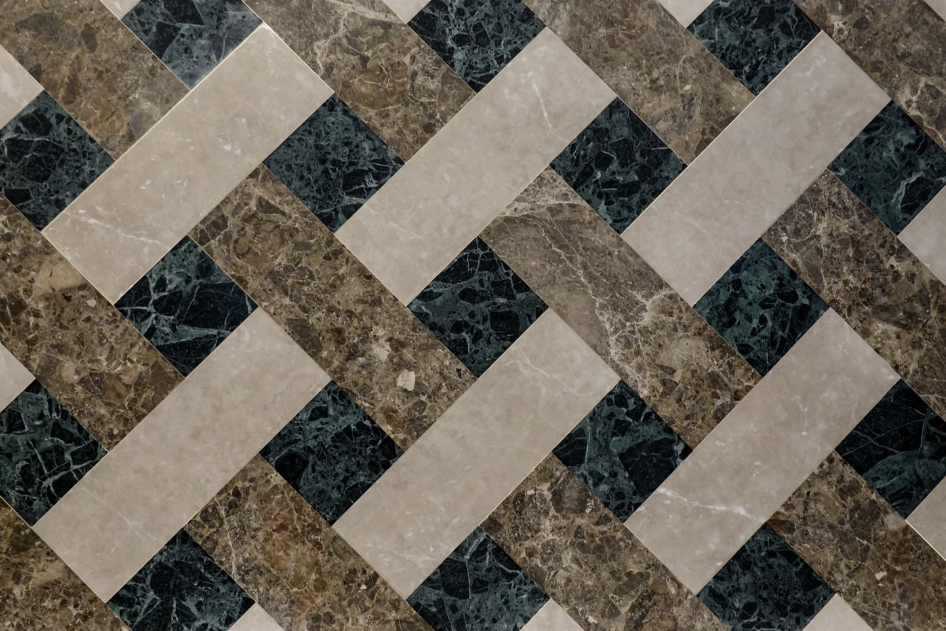
Understanding Tile Grinding & Polishing
Tile grinding and polishing is a specialised surface‑treatment technique used to restore the original shine of ceramic, porcelain, natural stone, and even concrete tiles. Over time, tiles can become dull, scratched, or uneven due to foot traffic, cleaning chemicals, and normal wear. Grinding removes a thin layer of the top surface, eliminating imperfections, while polishing refines the surface to a glossy finish.
In Riyadh’s climate, the combination of high temperatures and occasional sand can accelerate surface wear, making regular maintenance more important for commercial lobbies, hotel corridors, residential kitchens, and bathroom floors.
What the Terms Mean
- Grinding: A mechanical process that uses diamond‑embedded pads to level the tile surface and remove stains, etches, or glaze defects.
- Polishing: A series of finer abrasives followed by a polishing compound that restores gloss and smoothness.
- Sealing (optional): After polishing, a penetrating seal may be applied to protect the surface from stains and moisture.
When to Consider Professional Tile Grinding & Polishing
Not every dull floor requires a full‑service overhaul. Evaluate the following situations before deciding to hire a professional:
- Visible scratches or glaze loss that cannot be removed with regular cleaning.
- Uneven or pitted surfaces that cause tripping hazards.
- Loss of gloss that reduces the aesthetic appeal of a commercial space.
- Preparation for a major renovation where the existing tile will remain in place.
If the tiles are cracked, heavily chipped, or have structural damage, grinding will not fix the problem and replacement may be necessary.
Typical Process: Step‑by‑Step Overview
A reputable contractor follows a systematic approach to ensure consistent results. Below is a common workflow:
1. Site Inspection & Preparation
- Assess the tile type, condition, and layout.
- Identify any loose or damaged tiles that need repair before grinding.
- Cover adjacent surfaces, furniture, and fixtures to protect them from dust.
2. Cleaning & Degreasing
All loose debris, grease, and cleaning residues are removed with a neutral‑pH cleaner. A clean surface prevents the grinding pads from clogging and ensures even abrasion.
3. Grinding Phase
- Coarse diamond pads (usually 30‑50 µm grit) are applied with a low‑speed floor grinder.
- The operator moves the machine in overlapping passes, maintaining a consistent pressure.
- Dust extraction systems collect the majority of particles; however, a thorough vacuuming follows each pass.
4. Intermediate Polishing
Medium‑grit pads (10‑30 µm) refine the surface, reducing the visible scratches left by the coarse grinding stage.
5. Final Polishing & Buffing
- Fine polishing pads (3‑5 µm) and a polishing compound produce the desired gloss level.
- High‑speed buffing may be used for a mirror‑like finish on polished marble or high‑gloss porcelain.
6. Sealing (Optional)
For porous stones such as travertine or marble, a penetrating seal is applied after the surface cools. The seal helps repel stains and prolongs the polished look.
7. Final Inspection & Clean‑up
The contractor conducts a walk‑through with the client, checking for uniform gloss, levelness, and any missed spots. All protective coverings are removed, and a final mop eliminates residual dust.
Warning Signs of Poor Work or Potential Issues
Even with a professional approach, some outcomes may indicate sub‑standard execution. Look out for the following red flags:
- Uneven Gloss: Patches of high shine next to dull areas suggest inconsistent polishing.
- Visible Swirl Marks: These appear when the grinder is moved too quickly or without proper dust extraction.
- Excessive Dust Residue: A thick layer of fine dust after cleaning can scratch the newly polished surface.
- Delamination: If the grinding removed too much material, the tile may begin to separate from the substrate.
- Unusual Odors: Burning smells can indicate overheating of the pads, which may damage the tile glaze.
If any of these issues are observed, request a corrective visit before the contractor finalises the job.
Care & Maintenance After Polishing
Proper after‑care maximises the lifespan of the polished finish and protects the investment.
Daily Cleaning
- Use a soft‑mop or microfiber cloth with a pH‑neutral floor cleaner.
- Avoid abrasive scrubbers, steel wool, or harsh chemicals such as bleach.
Weekly Maintenance
Vacuum or sweep to remove grit that could act as a micro‑abrasive. If a sealant was applied, re‑apply according to the manufacturer’s schedule (often every 6‑12 months for natural stone).
Spot Treatment
For spills, blot immediately with a clean, absorbent cloth. For oil‑based stains, a mild degreaser can be used, but test in an inconspicuous area first.
Long‑Term Tips
- Place felt pads under heavy furniture to prevent indentations.
- Use entry mats at doorways to trap sand and dust.
- Schedule a professional polishing refresh every 3‑5 years for high‑traffic commercial areas.
Choosing the Right Contractor in Riyadh
Selecting a reliable service provider is crucial for a satisfactory outcome. Follow these practical steps:
- Verify Experience: Ask how many years the company has performed tile grinding and polishing, and request examples of recent projects (photos are acceptable).
- Check Equipment: Modern diamond‑grinding systems with integrated dust extraction are essential for a clean job.
- Ask About Materials: Reputable contractors use certified diamond pads and polishing compounds appropriate for the specific tile type.
- Request a Written Scope: The estimate should detail each stage, the number of passes, and whether sealing is included.
- Review Insurance: Ensure the provider carries public liability insurance to cover accidental damage.
- Compare Multiple Quotes: While price is a factor, the lowest quote may cut corners on equipment or labor.
- Read Independent Feedback: Look for reviews on neutral platforms or ask the contractor for references.
By following these guidelines, you reduce the risk of unsatisfactory work and protect your flooring investment.
Frequently Asked Questions
1. How long does a typical grinding and polishing job take?
The duration depends on the area size, tile condition, and whether sealing is required. For a standard 200 m² commercial lobby, the process usually takes 2‑3 days, including preparation and clean‑up.
2. Will grinding damage the tile’s glaze?
When performed correctly, grinding removes only a thin, controlled layer of the surface. It does not strip the glaze completely, but on very thin‑profile tiles the contractor may need to reduce the depth of cut to avoid exposing the body.
3. Is it safe to walk on the floor immediately after polishing?
Most contractors recommend a 24‑hour curing period, especially if a sealant is applied. During this time, avoid heavy traffic and wet cleaning.
4. Can I polish tiles myself with a rented machine?
DIY polishing is possible for small residential areas, but it requires proper equipment, dust extraction, and knowledge of grit progression. Mistakes can lead to uneven gloss or damage, so professional help is advisable for larger or high‑value projects.
5. How often should I have my tiles re‑polished?
For high‑traffic commercial spaces, a refresh every 3‑5 years maintains optimal shine. Residential floors generally need re‑polishing every 5‑7 years, depending on usage.
6. Does polishing make tiles more slip‑resistant?
Polishing enhances smoothness and can increase slip risk on wet surfaces. In areas prone to water (e.g., bathrooms), consider a slip‑resistant sealant or a lower gloss finish.
7. Will the process produce a lot of dust?
Modern grinding machines are equipped with high‑efficiency dust extraction, but some fine dust is inevitable. Proper site protection and ventilation help keep the environment clean.
8. Are there any tile types that cannot be polished?
Very low‑gloss or matte tiles, as well as certain soft stones like limestone, may not respond well to high‑gloss polishing. In such cases, a gentle honing finish is a better alternative.